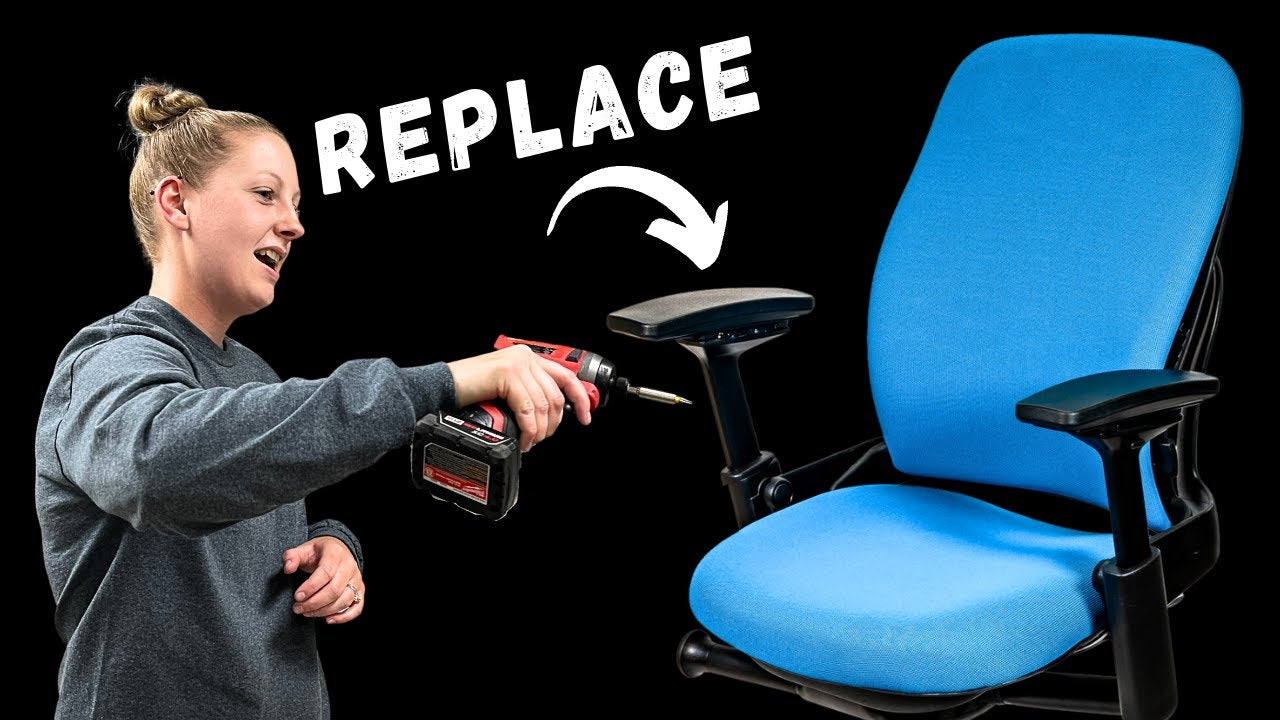
Hello! My name is Bree, and I’m with Crandall Office Furniture. Today, I’m going to show you how to remove and install arm pads on your office chair. Let’s get started!
Step-by-Step Guide
1. Tools You’ll Need
For this demonstration, we’re working on a Leap V2 chair, which requires a T20 bit. Please note that other chairs might require different sizes or bits.
2. Removing the Arm Pads
Each arm pad is secured with four screws. Here’s how to remove them:
•Start by removing the two screws in the front.
•To reach the back screws, you may need to adjust the arm pad or the chair itself for better access.
3. Reinstalling the Arm Pads
To reinstall the arm pads:
•Place the arm pad on top of the armrest.
•Take your four screws and carefully install them.
•Be sure not to over-tighten the screws, as this could damage the arm pad or the chair.
4. Repeat for the Other Side
The process is exactly the same for the other arm pad. Just follow the steps above, and you’ll have both arm pads installed in no time!
Where to Buy Replacement Arm Pads
We offer a variety of arm pads for sale on our website at Crandall Office. If you need replacements or want to upgrade, be sure to check out our selection.
Conclusion
Have a great day!
