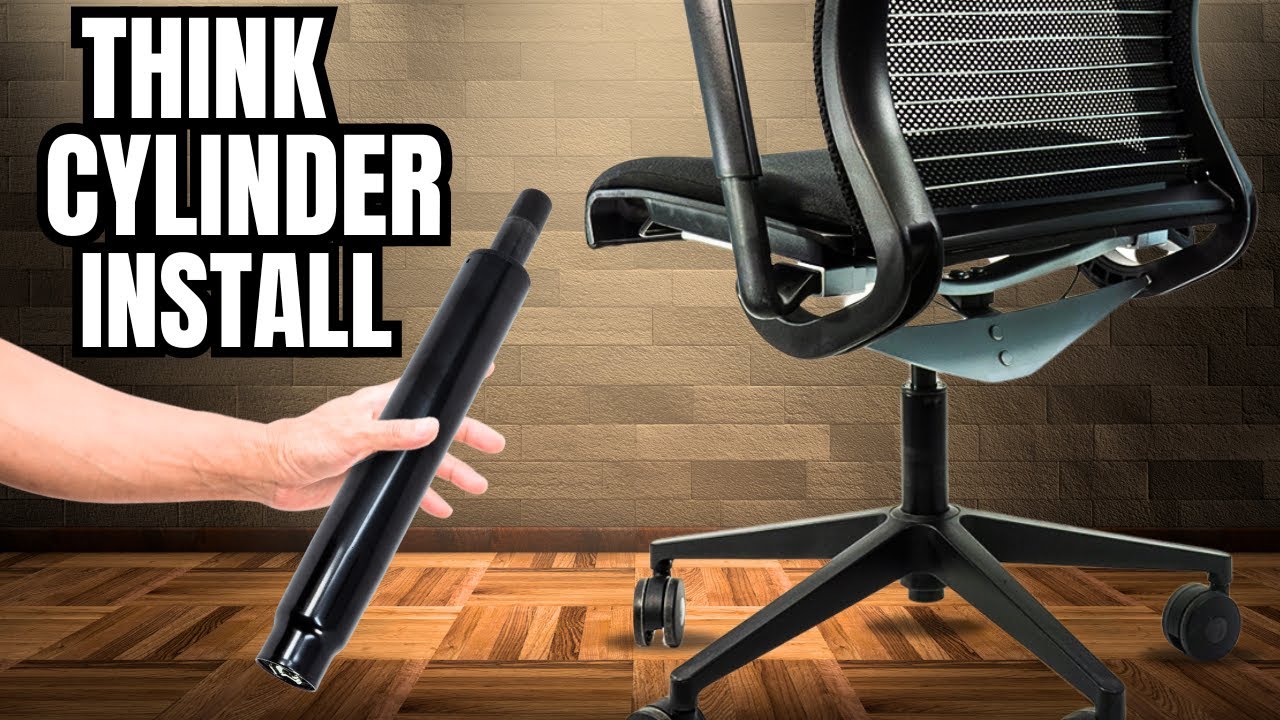
Hi, how are you doing today? Today I’m going to show you how to replace the side-activated cylinder on your Steelcase Think V1 chair. Let’s get started!
Tools You’ll Need
•Pipe Wrench
•Hammer (any kind will do)
Step 1: Prepare Your Workspace
First, find a nice, flat, and even surface to work on. To flip the chair over, grab onto a secure part of the chair—whether it’s the arm or the frame. Make sure you hold it steady to avoid damaging anything.
Step 2: Detach the Cord
Underneath the chair, you’ll see two cords running to the back. Focus on the one that runs underneath the cylinder. To detach it, simply push down, and it should pop out easily.
Step 3: Remove the Cylinder
Next, grab your pipe wrench. You may need to adjust the wrench to fit securely around the cylinder. Once it’s tight, hold the chair steady with your leg or body and give the wrench a few firm pushes. You should see the cylinder start to move. When it breaks free, you can remove the pipe wrench and lift the cylinder out.
Step 4: Install the New Cylinder
Now, take your new cylinder. You’ll notice it has a small end and a wider end. Underneath the chair, you can feel with your fingers which side is wide and which is narrow. Align the new cylinder accordingly—wide end with the wide side, and small end with the narrow side. Insert it into place and give it a slight turn to secure it.
Step 5: Reattach the Cord
With the cylinder in place, it’s time to reattach the cord. Start by taking the end of the cord with the wire, coming underneath, and securing it into its slot. Once it’s in position, push the other end up until it snaps into place.
Step 6: Test the Chair
Finally, check to make sure everything is working properly. Adjust the chair as needed and ensure the cylinder moves smoothly.
Thanks for tuning in today to learn how to replace the side-activated cylinder on your Think V1 chair! If you have any questions, feel free to visit us at CrandallOffice.com.
