Introduction
Welcome back! Today, I’m excited to walk you through the process of removing and installing a top-activated cylinder on your Leap V2 office chair. This guide will help you restore your chair’s functionality with ease. Let’s dive in!
Tools You’ll Need
Before we get started, gather the following tools:
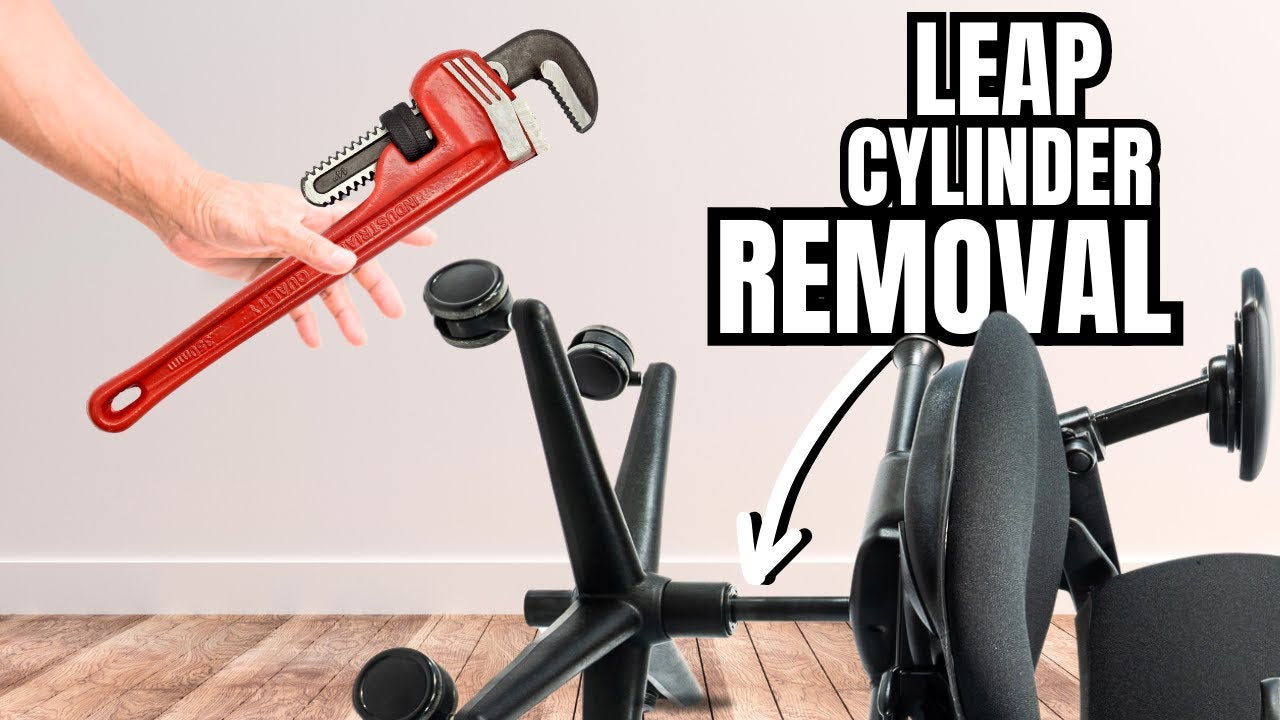
•Pipe wrench
•Standard claw hammer
•Long-handled flathead screwdriver
•1/8 inch Allen key
These tools will make the job quick and easy.
Step 1: Prepare Your Chair
Start by gently placing your chair on its back, ensuring it’s in a safe position for the process. This will give you easy access to the cylinder.
Step 2: Remove the Old Cylinder
1.Use your pipe wrench to get a solid grip on the cylinder.
2.With one hand on the pipe wrench and the other on the chair’s metal frame, push down to release the cylinder. Since it’s only friction-fitted, it should come out easily.
3.If needed, give the cylinder a slight twist to fully remove it.
Step 3: Separate the Cylinder from the Base
1.Flip the chair’s base upside down.
2.Using your claw hammer, give the bottom of the cylinder a solid smack. This should dislodge the cylinder from the base. Be careful not to hit your toes!
Step 4: Install the New Cylinder
1.Insert the new top-activated cylinder into the base.
2.Carefully align the top of the cylinder with the hole in the chair frame and insert it.
3.Tilt the chair back onto its casters and test the cylinder to ensure it’s working properly.
Step 5: Test the Cylinder
Test the cylinder by pressing the seat height lever. If the chair raises and lowers smoothly, you’re good to go! If it’s not functioning correctly—such as the chair sinking or not raising—you may need to adjust the set screw.
Step 6: Adjust the Set Screw (If Needed)
1.To access the set screw, remove the seat using a long-handled flathead screwdriver.
2.Adjust the set screw by turning it clockwise to lower or counterclockwise to raise it. This will fine-tune the cylinder’s engagement.
3.Make small adjustments and test the chair until you find the perfect setting.
Step 7: Reattach the Seat
1.Reattach any glides that may have come off during the process.
2.Align the seat rails with the glides and secure the seat.
3.Test the seat adjustment to ensure everything is properly aligned and functioning.
Conclusion
And there you have it—a fully functioning Leap V2 office chair with a brand new top-activated cylinder! If you encounter any issues during the process or need further assistance, don’t hesitate to reach out to us at Crandall Office Furniture. Thanks for following along, and be sure to like and subscribe for more helpful tips. Have a great day!
