


General
The Complete Process of Refurbishing Aeron Classic Chairs at Crandall Office Furniture
Introduction:
Hi there, Dave with Crandall Office, and today we’re walking you through our entire start-to-finish process of refurbishing Aeron Classic chairs to ensure they are perfect for you. Without further ado, let’s get started!
Receiving and Disassembling Chairs:
The first step in this process is receiving the chairs. Typically, these chairs arrive on 53-foot trailers, which we unload into our warehouse. We start by counting and inventorying the chairs. Afterward, we disassemble each chair by removing the backs, seats, and arm pads, getting the chair down to its core. At this stage, we’re not focused on functionality since we’ll be rebuilding each chair. Instead, we look for major damage and set aside any chairs that can be used for parts.
Touch-Up Painting:
Once disassembled, the first major refurbishing step is touch-up painting. Aeron chairs have several metal components, primarily on the arms, frame, and base, that can show scratches and dings over time. Before applying touch-up paint, we clean the chair thoroughly, focusing on the mesh seat, which tends to collect dust and debris. After cleaning, we sand and scuff the surfaces to ensure proper paint adhesion. We use OEM paint that matches the original color and quality, ensuring no dings or chips remain.
Cleaning Mesh and Seat Frames:
While the core of the chair is out for paint, we focus on the seats and backs. We remove the mesh from each seat and back, separating them for washing. The mesh is hand-washed with a soft-bristle brush and mild detergent to remove grime and dirt. After a thorough rinse, the mesh is set to dry overnight. Simultaneously, we clean the seat and back frames by hand, preparing them for mesh reinstallation.
Reinstalling Mesh and Upgrading Components:
With the seat and back components cleaned, we reinstall the mesh using screws, ensuring everything is secure. During this process, we also install a new under-seat foam pad made from high-quality polyurethane. This pad is slightly firmer and thicker than the original, improving comfort. Additionally, we replace the lumbar pad on every chair with a new one made to OEM specs.
Mechanism Inspection and Upgrade:
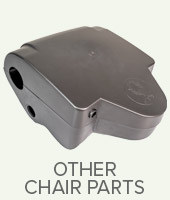
Once the touch-up paint is fully cured, we move the chair into the production room for a thorough inspection of the mechanism. We remove the mechanism cover and verify that all components, such as the tilt limiter and forward tilt, are functioning properly. If any issues are found, we install a new three-panel kit to ensure everything works smoothly. We also take this opportunity to upgrade chairs that don’t have these optional features.
Arm Adjustments and Enhancements:
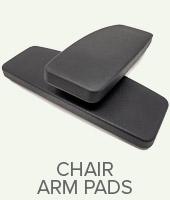
Next, we focus on the arms of the chair. We tighten the height adjustment component to ensure it’s easy to adjust without excessive play. We also address the pivot function of the arms by replacing worn plastic components with newly tooled parts, ensuring a tight, smooth pivot. Finally, we install brand-new arm pads made from high-end polyurethane, offering superior durability and comfort.
Final Assembly and Quality Check:
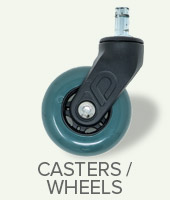
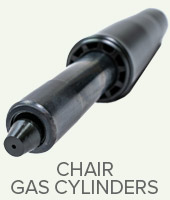
In the final steps, we flip the chair upside down to access the gas cylinder, replacing the old one with a new cylinder. We also replace the mechanism cover with a newly tooled one designed to prevent noise and improve durability. After a thorough cleaning, we reinstall the seat and prepare the chair for shipping. The chair is packed carefully with bubble wrap to protect it during transit, and brand-new casters are included in the package.
Conclusion:
As you can see, we’ve refined our refurbishing process to ensure you receive the best possible Aeron Classic chair. We’re so confident in our work that we back it with a full 12-year warranty, offer free US shipping, a 30-day trial, and free returns. If you have any questions or need assistance, feel free to reach out to us at CrandallOffice.com